- Removing the float: The float covers another knotted line for adjusting the back line length. Because it is doubled up under the float, I had to pull pretty hard to remove the float up along the line. One side was so tight that I had to pull the broken leader line down with a set of pliers while forcing the float up the line. The side with the bar was a little easier to hold onto, but it was still tight.
- Removing the plastic tubing: There is also a piece of plastic tubing at the bottom of the float closest to the bar. This can come out before you pull the float up or will pop out once the float has been removed. It doesn't seem to be necessary to hold the internal knots in place as it is looser than expected. It looks like it stops the line tidy straps from digging into the float. They can easily slide off the bottom of the line once it has been removed from the bar.
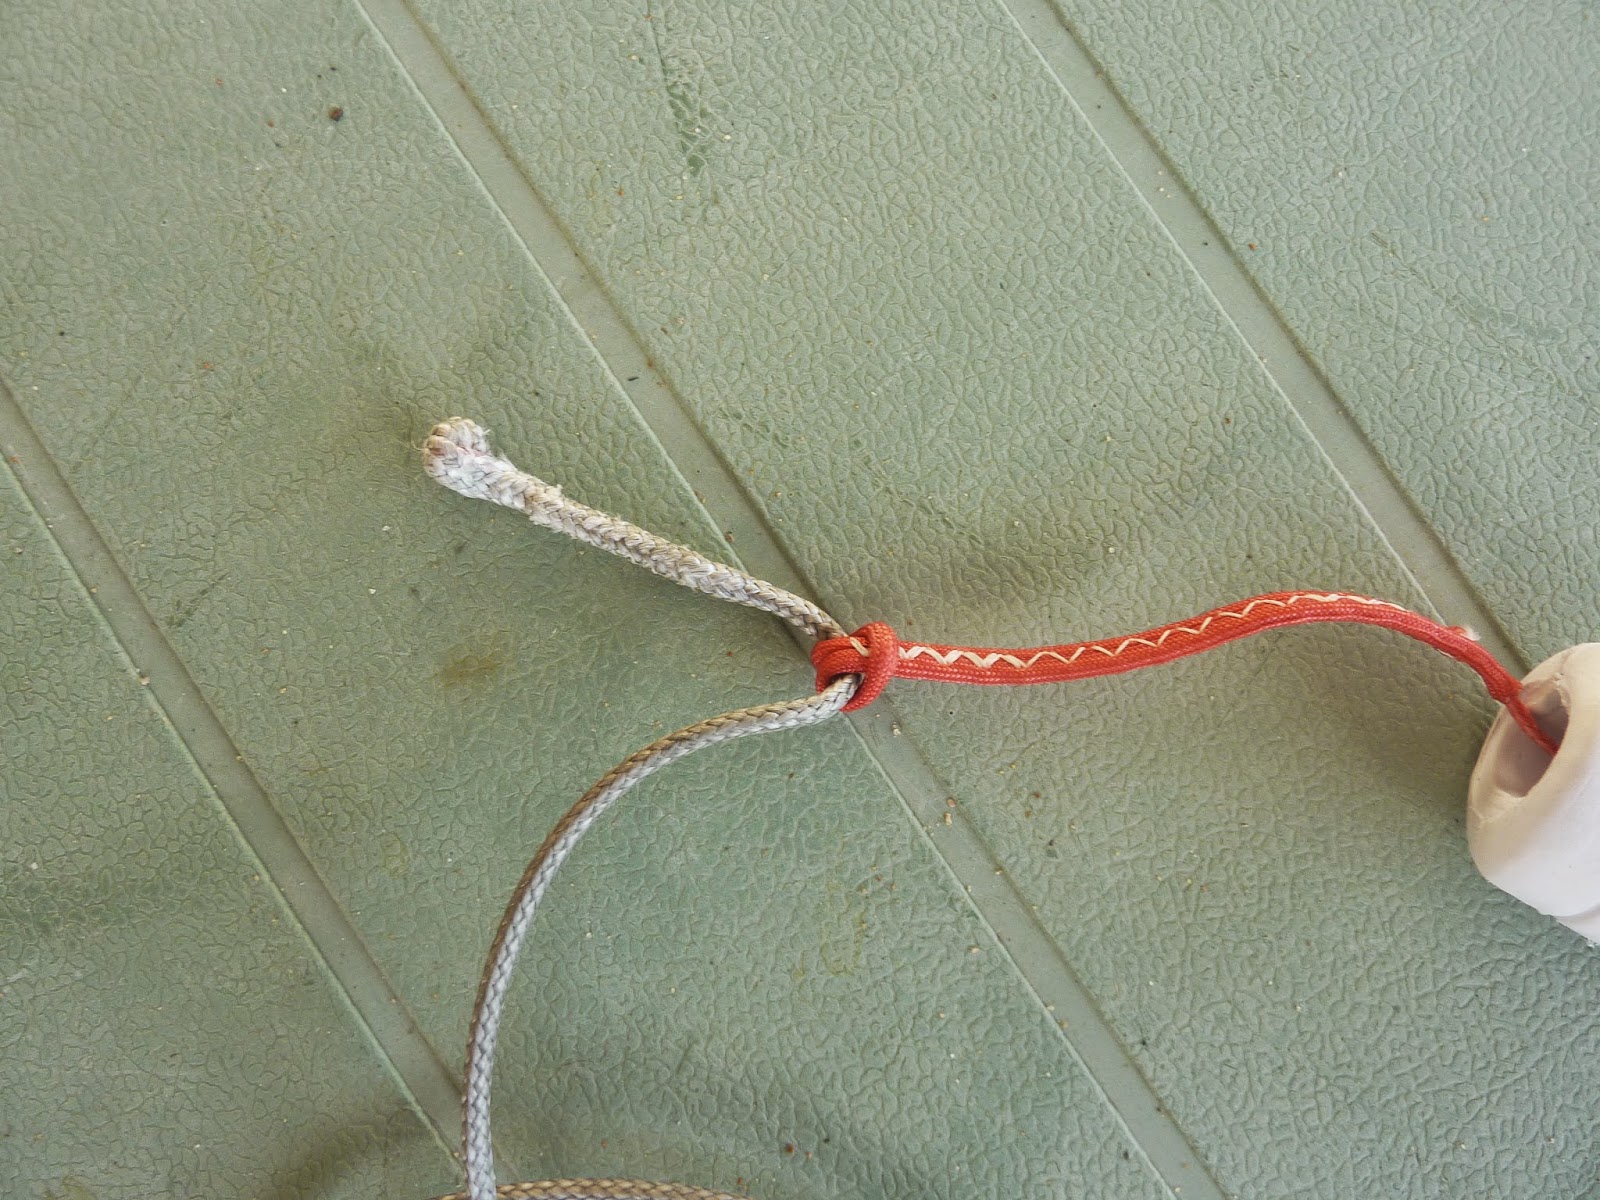
- Undo the back lines: Each back line is attached to the leader line with a larks head knot. Undo this and separate the leader line from the back line. The float can either stay up on the back line or come off completely now.
- Undo the leader line from the bar: There should be easily enough slack now to remove the looped leader line from the aluminium eyelet on the bar.
Replacement process
 |
| Shown is the bar, the replacement leader line, the plastic tubing the float and the back line |

 - Slide the plastic tubing over both the end of the leader line and the line tidy elastic cord. It should sit between the elastic cord binding and the knotted adjustment line
- Attach the leader line to the bar: Push the end of the leader line through the eyelet of the bar, open up the loop and thread the rest of the leader line through to make a lark's head knot.
The direction you thread through shouldn't matter too much in the end, but I tried to keep both lines threaded in from underneath so that I can check the knot while on the water. I have a suspicion my line broke due to sand getting in under the knot as the aluminium was scoured quite heavily.
e side I needed to poke it a touch, to get through the middle bend. This is done now so that it makes pulling through the top of the leader line easier.
 - Move the float to the top leader line: Recreate the larks head in the back line and loop it over the top of the leader line to pull it through. I found that attaching the larks head down on the single strand of silver cord made it easier to pull through. Once through, reset the larks head back to the monkey fist at the end of the leader line.
- Move the float over the adjustment knots: All that is left is to now place the float down over the adjustment knots. This step may require some force. Make sure that the float is facing the right way (curving in). Push the float all the way down to about 5cm from the bar. Keep moving the plastic tubing out of the way.
 Since the end of the knotted top leader line will be pushed back up the float I decided to bind it to itself with cotton. I'm expecting the cotton to break or be easily removable later on and is NOT to hold strain, it just has to hold the end in place until I can get the float into position. The other side seemed to have enough room in the float to not warrant the cotton.
- Push tubing into place: As the float descends over the adjustment knots, it will eventually push the plastic tubing down toward the bar. Once the float is in its final position push the tubing back into the float so that it sits flush with the bottom of the float. My larger tubing fitted snugly so that it wouldn't move easily.
All done! Check the lines thoroughly with strain to make sure all the larks heads are holding.
